
All guides
Maker field guide
Write and test your tag
Encode the permanent Item URL, verify it across phones and keep activation credentials off the tag.
7 min readReviewed September 27, 2026
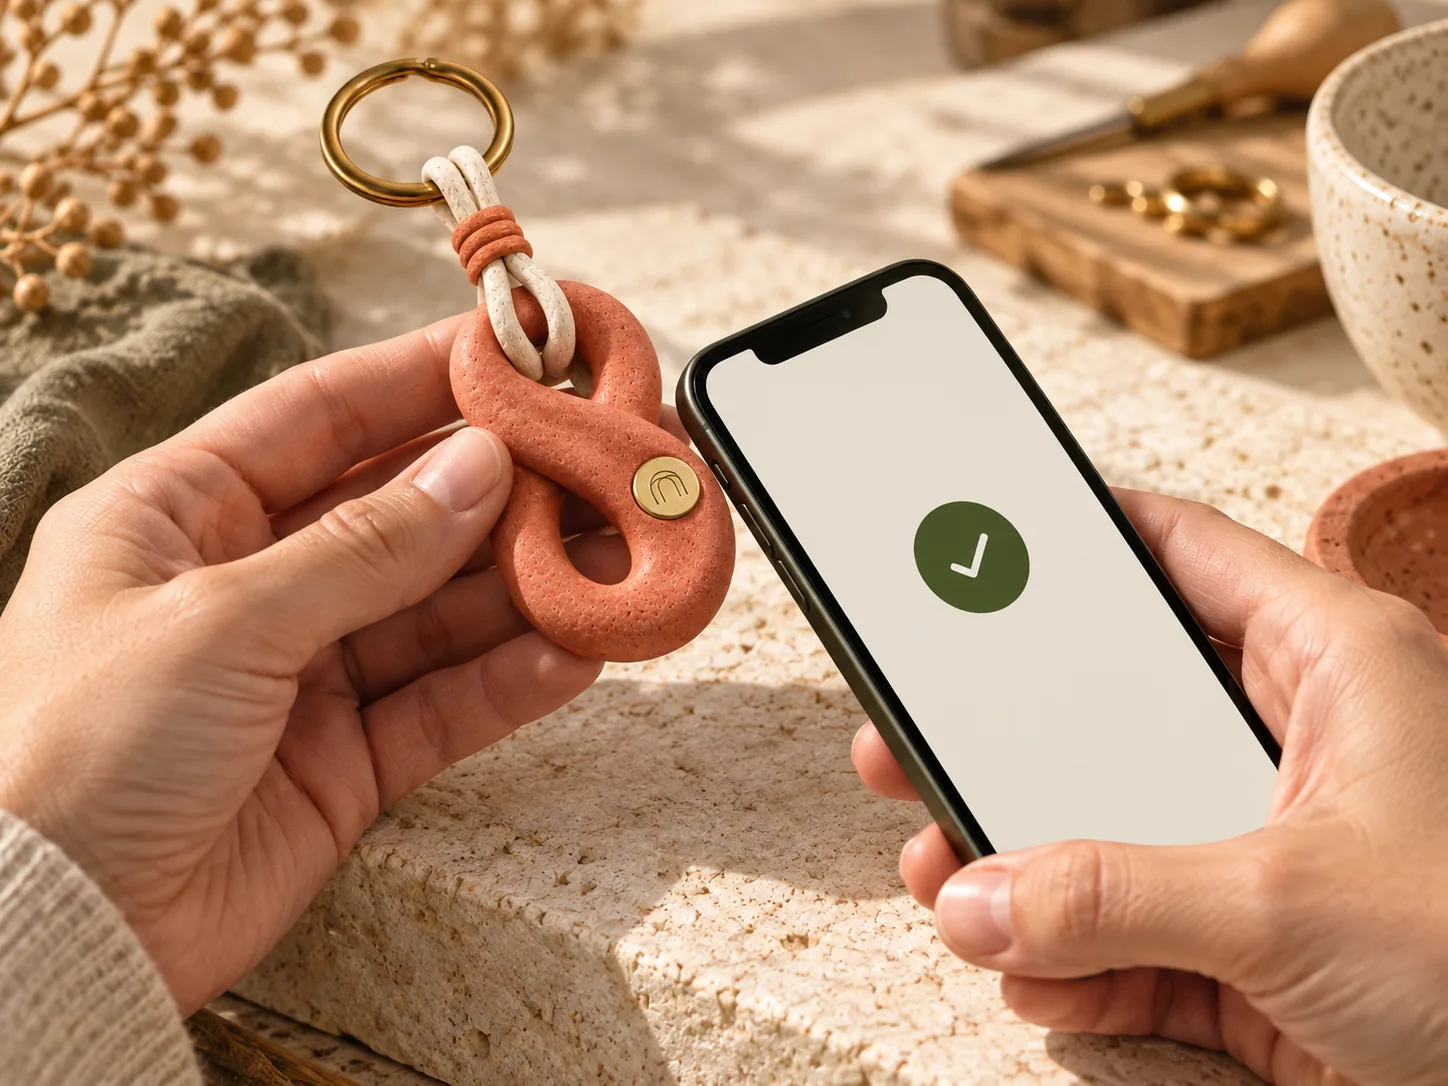
Before you write
- Create the Items in Maker NFC and download the production CSV or activation-card PDF.
- Match each physical piece to the correct item_id and tag_url before encoding.
- Keep the activation_key on the protected activation card. It must never be stored in the NFC tag or public QR code.
- Write and test tags before permanently sealing them inside an object whenever possible.
Write the URL with NFC Tools
- Install the official NFC Tools app by Wakdev on an NFC-capable iPhone or Android device.
- Open Write, add a URL / URI record and paste the exact tag_url exported by Maker NFC.
- Confirm the byte count fits, choose Write and hold the tag still at the phone’s NFC antenna until completion.
- Read the tag back immediately and confirm the URL is exact before moving to the next Item.
Production checks
- Tap-test with at least one current iPhone and one current Android phone.
- Test before embedding, after embedding and after final finishing or packaging.
- Confirm an unclaimed tag opens the correct Maker-branded activation screen without exposing owner data.
- Use a second scan to catch swapped URLs, weak placement and accidental duplicate encoding.
- Do not make a tag read-only until the complete product and activation-card pair has passed QA.
Maker note: If a tag is damaged or encoded incorrectly, Maker NFC can reissue its token without consuming a new Item Credit.