
All guides
Maker field guide
3D-print a proven enclosure
Start from commercially usable models, then verify tag fit, read range and licence obligations.
8 min readReviewed September 27, 2026
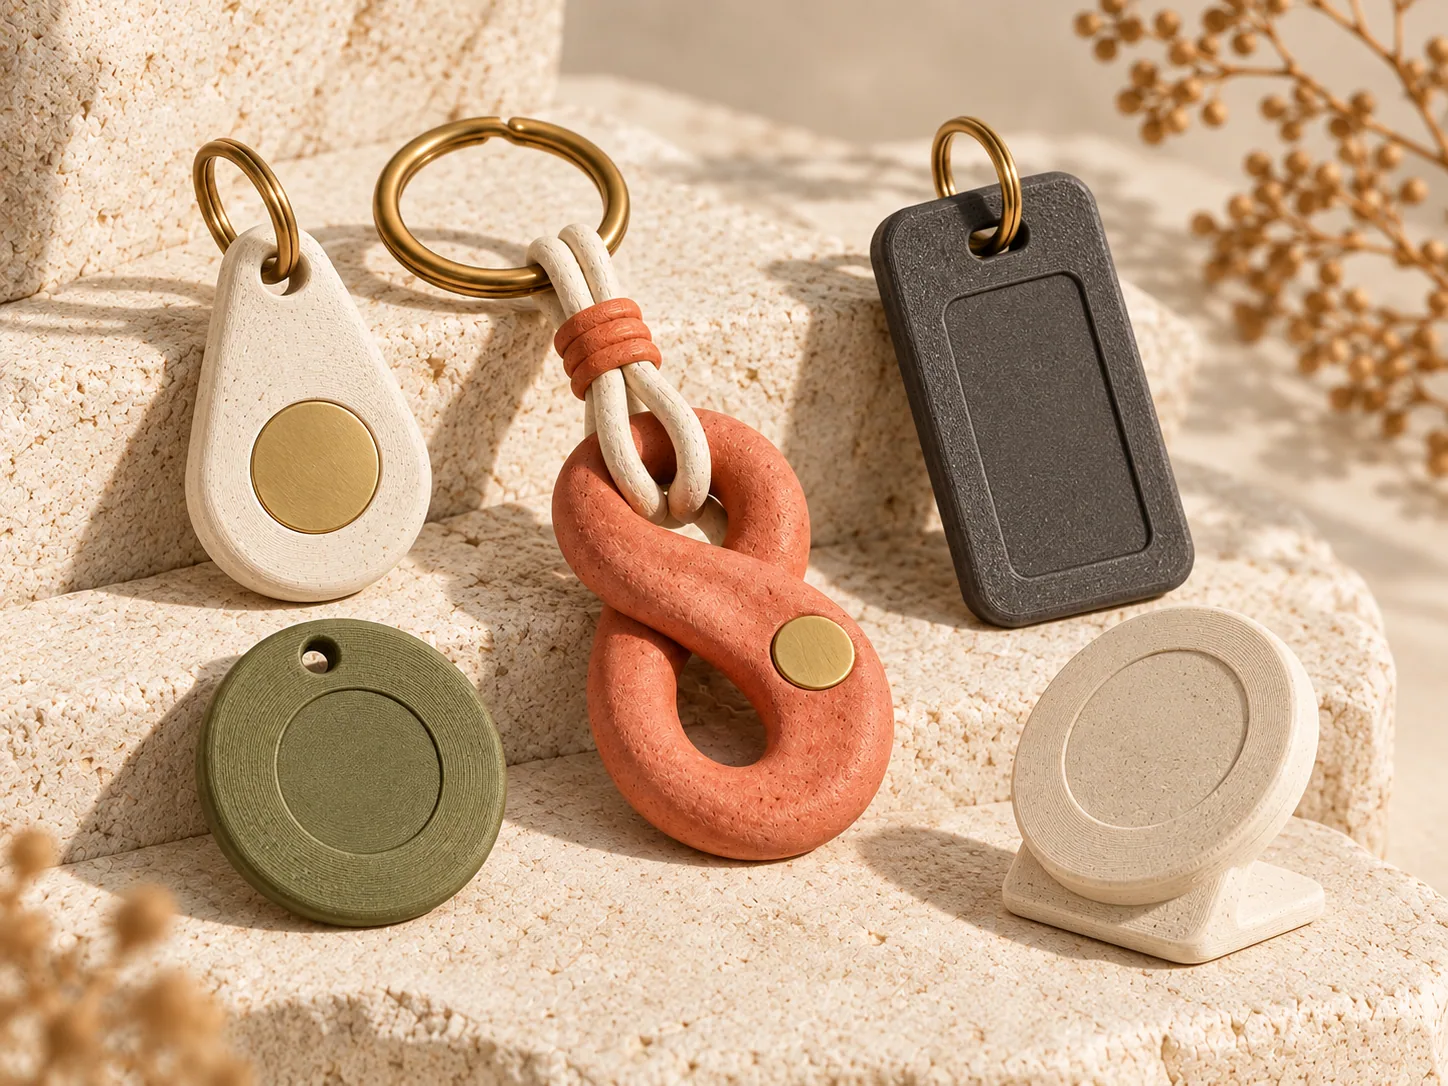
A safe starter workflow
- Print one fit test before producing a batch; nominal 25 mm pockets still depend on printer calibration and tag thickness.
- Keep plastic above the antenna thin and consistent, and avoid metal rings or inserts crossing the antenna face.
- Write and verify the Item URL before a mid-print insertion that permanently seals the tag.
- Test the finished object from multiple phone angles and record the reliable tap position for customer instructions.
Commercial-use-only recommendations
The starter library intentionally excludes non-commercial designs. A licence can change, so verify the source page again before selling prints and preserve any required attribution or share-alike terms.
Design your own
- Parameterize tag diameter, pocket depth, cover thickness and tolerance instead of baking them into decorative geometry.
- Keep the tag replaceable for early prototypes; move to sealed or mid-print insertion only after scan testing.
- Export a plain sample first, then add brand marks, color changes and surface texture after fit is proven.
- Document the exact compatible tag format on the product listing so customers can reproduce or repair it.
Starter STL library
Models you can sell
NFC Tag Keychains
by orax
25 mm NFC sticker or PVC disc; teardrop, rectangle and square bodies with screw-in back.
CC BY-SA 4.0 · Commercial use
Credit the creator and share adaptations under the same licence.
Social media NFC tag
by Hazem Bazo
Keychain variants built around a 12 × 22 mm central tag slot.
Public Domain · Commercial use
No attribution required by the listed licence; creator credit remains good practice.